ARDUINO HANDS ON WORKSHOP For CCC
Conducted by:- Free Hardware Movement
Conducted on:- 31-03-2014 (sunday) at 11.00am to 05.00pm
Handled by:- Harshitha,Suryo and Karan
Venu:- FSMK office
History of Arduino software :-
**Arduino** is a single board micro controller, intended to make the application of interactive objects or environments more accessible. The hardware consists of an open source hardware board designed around an 8-bit Atmel AVR microcontroller, or a 32-bit Atmel ARM. Current models feature an USB interface, 6 analog input pins, as well as 14 digital I/O pins which allow to attach various extension boards.
Introduced in 2005, it was designed to give students a cheap and easy way to program interactive objects. Arduino comes with a simple integrated development environment (IDE) that allows to program the computer using C or C++. Arduino started in 2005 as a project for students at the Interaction Design Institute Ivrea in Ivrea, Italy. Massimo Banzi, one of the founders, taught at Ivrea.
**Arduino Microcontroller **
Session details :-
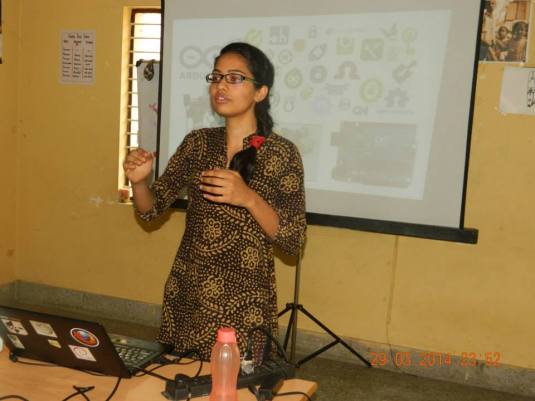
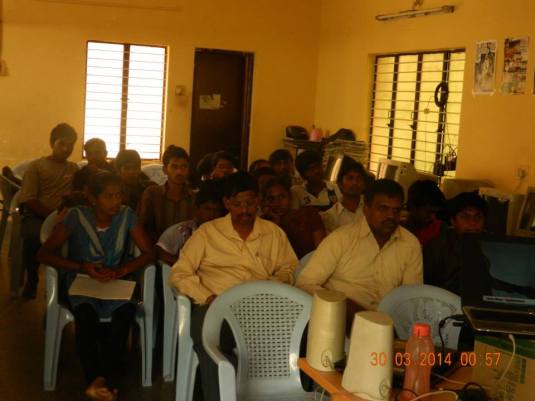
Firstly the session was started by Harshitha from BMSIT Engineering college. Harshitha handled the session about history and other information of Arduino microcontroller. And the session was consist of video screening in projecter about the device and its features. It has also a video showing that the explaination of the device by Massimo Banzi, who is one of the founder of Arduino device. It has shown the importance of the device that many people has used it in many ways and which is usefull to the society. It is used to do many innovative things by coding in its software which will be more creative and usefull, and it is a open source software.
Later when Harshitha finished the morning session, there was a lunch break time of 45 minutes where everyone had their food at FSMK office.
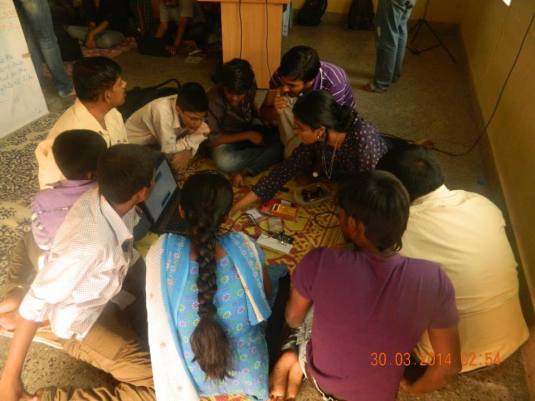
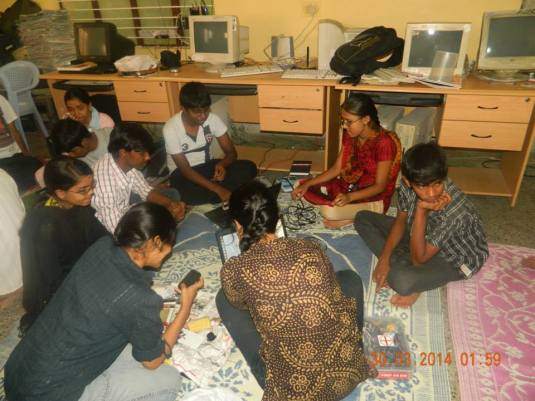
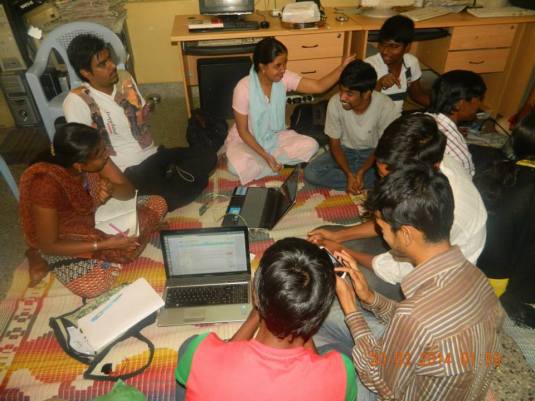
As soon as lunch break, afternoon practicle hands on workshop has been started by Suryo as guider that how to make LED to blink by coding in Arduino software and making use by Arduino microcontroller where the device was connected by USB to laptops. Totally there was 3 teams which was divided and each team was more than 5 people.
Team 1 :- Harshitha and Sandhya
Team 2 :- Jeeva and Aruna
Team 3 :- Vignesh and Anupama
After team dividing each team has to complete there task. The task is about 5 basics of making the LED blink in many ways. And there was some faults in coding and connecting also which was covered.
Task 1 :- Making LED to blink directly through Arduino microcontroller
Task 2 :- Making LED to blink through Arduino microcontroller and Bread board
Task 3 :- Making LED to blink through Arduino microcontroller
and Bread board with switch check
Task 4 :- Making LED to blink through Arduino microcontroller
and Bread board with switch auto glow
Task 5 :- Making LED to get buzzer sound
After all the task and at the end of the session Karan had taken a short session displaying the information about Raspberry pi device and its controlling through android mobile and the uses of Raspberry pi and its features and advantages.
Raspberry pi device
*- **by Sujay.S*


